Introduction
Tapestry 5 is framework for creating web applications using Java. The framework allows you to generate HTML pages using Java code. This a good thing if you have complex business logic that takes data from the user, database, online resources to present a result as a webpage. We wanted to do something like that for one of our econometric models so we decided to give Tapestry a go for building our web application. Along the way we learned quite a lot about the framework. Some of that we want to share here in a series of blogs. The complete series should be enough to build simple GUI for your Java business logic.
In this blog we will create a hello-world style example using Tapestry 5. The goal of this example is to get you up and running with Tapestry using the skeleton setup that is included with Tapestry. Based on this initial setup we will make changes to get a hello-world page.
Prerequisites
- This tutorial uses Eclipse with Maven
Setup
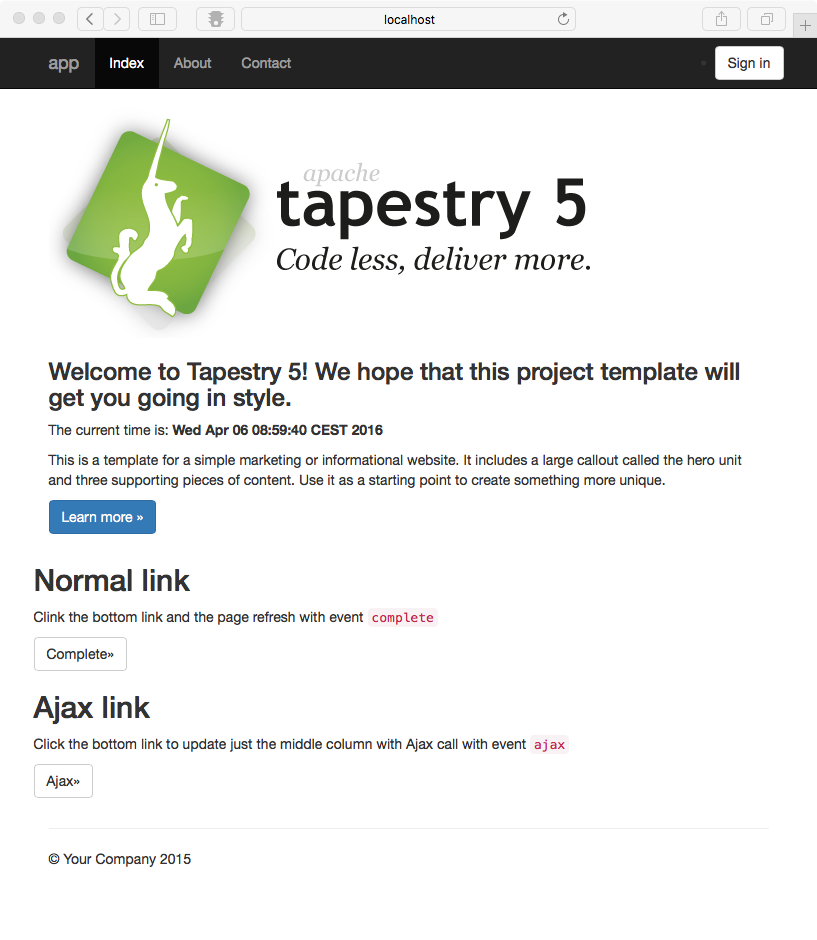
The Apache Tapestry online documentation shows you how to setup a skeleton application. Please follow the steps explained here to get the skeleton project up and running using the provided Maven archetype.
Once you have completed the setup you should get something like this.
Note that the first time you try to run the Maven project it will go and download Tapestry and all its dependencies. This will likely take sometime. So don’t worry if the first time takes long. After the first run you’ll have all the required files in your local Maven repository so all the next runs will be fast.
Creating Hello World Page
To keep things simple our application is only going to be a single page. By convention any Tapestry page consists of a generic layout part and page-specific part. You could do without the layout and create only pages, but that would break the Tapestry standard setup, so we'll not do that here. The layout is defined in layout.java and layout.tml. For example, the navigation bar in the skeleton project is created in the layout as it is used on all pages. To remove the bar, it must be removed from the tml file. Try to replace your layout.tml file with the following code.
<!DOCTYPE html>
<html lang="en" xmlns="http://www.w3.org/1999/xhtml"
xmlns:t="http://tapestry.apache.org/schema/tapestry_5_4.xsd"
>
<head>
<meta charset="utf-8"/>
<title>${title}</title>
<meta name="viewport" content="width=device-width, initial-scale=1.0"/>
<meta name="description" content=""/>
<meta name="author" content=""/>
<!-- Fav and touch icons -->
<link rel="shortcut icon" href="${asset:context:/favicon.ico}"/>
</head>
<body>
<div class="container">
<t:body />
<hr />
<footer>
<p>© Your Company 2015</p>
</footer>
</div> <!-- /container -->
</body>
</html>
If you reload the page in you browser the navigation bar will be gone. The layout is now very minimal. It just defines some meta data for the pages and adds the footer.
Let’s remove the pages we don’t need. Remove
- About.java
- About.tml
- Contact.java
- Contact.tml
- Login.java
- Login.tml
You will get an error in the index file, because there is a reference to the non-existing class About. Fix this by simply removing the member variable About and the method onActionFromLearnMore(). We now have a one-page application (two if you count the 404 error page). Finally, we clean up the index page by removing all the Ajax references and layout from index.tml. We are left with:
package nl.uglyduckling.hello.pages;

import org.apache.tapestry5.EventContext;
import org.apache.tapestry5.SymbolConstants;
import org.apache.tapestry5.annotations.Log;
import org.apache.tapestry5.annotations.Property;
import org.apache.tapestry5.ioc.annotations.Inject;
import org.apache.tapestry5.ioc.annotations.Symbol;
import org.apache.tapestry5.services.HttpError;
import org.slf4j.Logger;

/**
 * Start page of application hello.
 */
public class Index
{
  @Inject
  private Logger logger;

  @Property
  @Inject
  @Symbol(SymbolConstants.TAPESTRY_VERSION)
  private String tapestryVersion;


  // Handle call with an unwanted context
  Object onActivate(EventContext eventContext)
  {
    return eventContext.getCount() > 0 ?
        new HttpError(404, "Resource not found") :
        null;
  }

  @Log
  void onComplete()
  {
    logger.info("Complete call on Index page");
  }

}
and
<html t:type="layout" title="hello Index"
xmlns:t="http://tapestry.apache.org/schema/tapestry_5_4.xsd"
>
<h2>Normal link</h2>
<p>Clink the bottom link and the page refresh with event <code>complete</code></p>
<p><t:eventlink event="complete" class="btn btn-default">Complete»</t:eventlink></p>
</html>
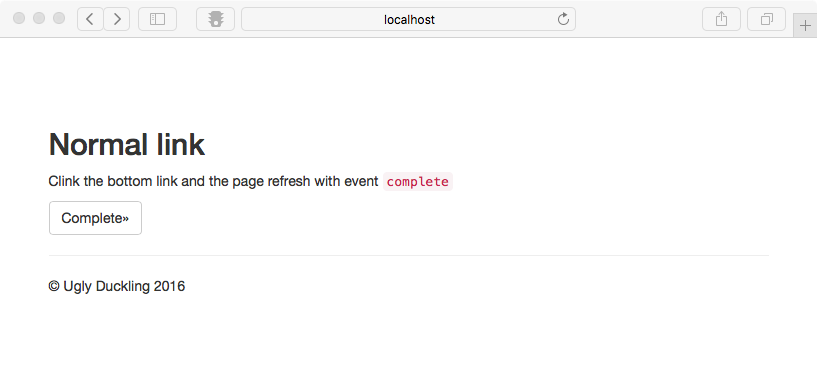
Notice that the first line of the index page calls the general layout tml. If you remove "t:type="layout" the reference will be dropped and only layout of index.tml will be used. Alternatively a different tml could be referenced, for example"t:type="layout_admin_section". This makes the rendering of pages very flexibel.
The code above will give the following page.
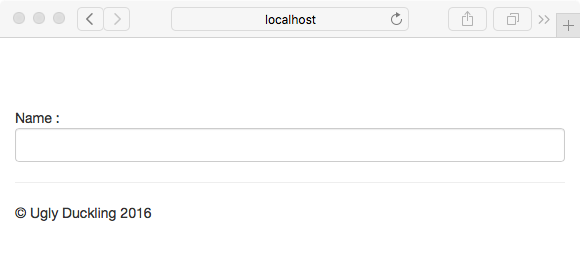
Now we are ready to implement the classic hello world. We first create the input field. For this we use the form mix-in. This component can be setup in the tml file by adding the code
<t:form t:id="inputform">
    Name :<t:textfield t:id="nameOfUser"/>
</t:form>
This code pretty much speaks for itself and gives us a html form with input like so
Once we have the name we need to post it to the page. To do this we use the “if” component. If there is a result to post, we render a block of text with hello username, otherwise we do nothing. This can be done in the tml using
<t:if test="result" >
    <span id="result">
       <h1>Hello ....</h1>
       <br></br>
       <p>${nameOfUser}</p>
   </span>
   <else>
   </else>
</t:if>
Once the form is setup we need to implement the logic for the page. We need to have a text field object to link to the text field in the tml file and a string variable to store the text field value. (As we have only one form we can have it auto-generated by Tapestry. No configuration is required in this case.) In the tml files we created an if-statement based on “result”. This variable should also be in the java class so Tapestry can find it.
public class Index
{
  @Inject
  private Logger logger;

  @Property
  @Inject
  @Symbol(SymbolConstants.TAPESTRY_VERSION)
  private String tapestryVersion;

  @Property
  private String nameOfUser;

  @Property
  private Boolean result;

  @Component(id = "nameOfUser")
  private TextField nameOfUserField;

  @Log
 void onActivate(String nameOfUser)
 {
	logger.info(nameOfUser);
	this.nameOfUser = nameOfUser;
	result = isNameResult(nameOfUser);
 }

  @Log
  Object[] onPassivate() {
	  logger.info(nameOfUser);
      return new String[] { nameOfUser };
  }

  private Boolean isNameResult(String nameToCheck)
  {
	  return nameToCheck != null && nameToCheck.length() > 0;
  }
}
On passivate sets the output form to page and posts it to the next page by appending parameters to the url. The on activate reads the parameters as the page is being rendered. Before rendering the page we check if a name have been entered so we know if the result should be rendered or only the input box. That’s it! You have just setup a hello world!

Code
Code is available here : hello_tapestry
Next Steps
- The variables should be “cleaned” as the input can now contain any string. This could be dangerous if deployed on the web.
- The layout is very basic in this example. Later we will show you how to improve the layout using some css and the tml files.
- We can also expose an API using same activate and passivate. This gives us a simple way to leverage Tapestry applications.